Adding external links to your images in WordPress is easy. When the image is clicked on, the user is taken to the link. You have two choices in how the user is taken to the link. The link can either open up in the same window, thus taking the user away from the site or it can be opened up in a new window. If using the latter technique, the window for the original site is kept open.
Thank you for reading this post, don't forget to subscribe!When you should have your image link open up in the same window or a different window is up for debate and not the subject of this particular blog. In this blog, I will demonstrate how you can set up your WordPress image to open up a new window for an attached link.
Using The WordPress Feature
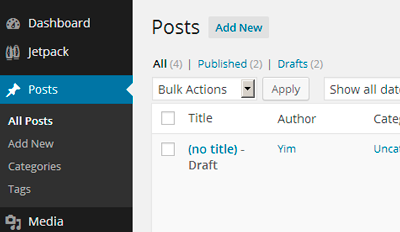
First, go to the post with the image that you want to attach a URL to.
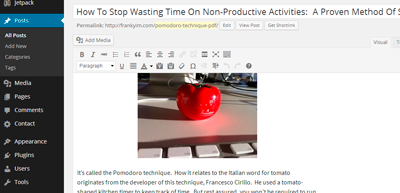
Inside the post, you can attach a new image file or alter an existing image file.
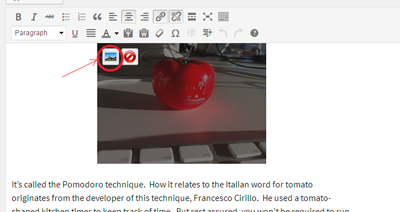
If you want to add a URL to an existing image, then click on the icon as shown below.
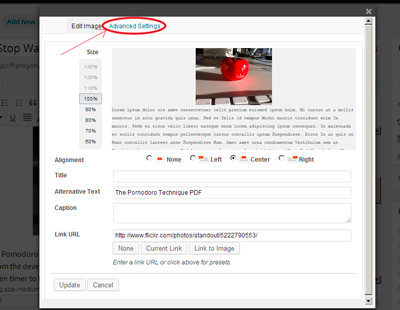
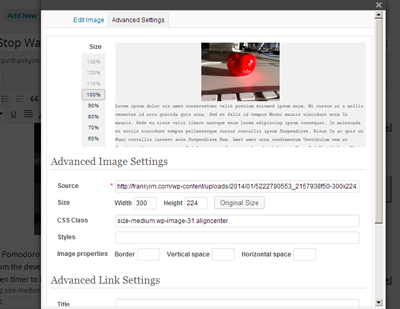
A window will open up that allows you to configure the image as desired. Add the desired URL to the “Link URL” field. Then locate the “Advanced Setting” tab at the top of the page as shown below.
The “Advanced Settings” display is shown below. Scroll down to the bottom of that page.
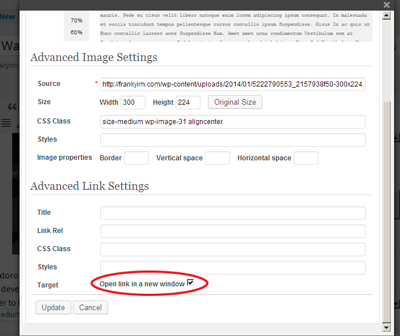
In the “Target” field, check off the statement “Open link in a new window”. See the image below for the example.
Once the box is checked, make sure to click “Update” to save the changes.
The HTML Coding
Another way to do this is to add the feature directly into the HTML source code. Only do this if you are familiar and comfortable with HTML coding
It is easily done by adding [ target=”_blank”] into the element code <a href=”http://www.externalwebsite.com/” ><img src=”http://mywebsite.com/image.jpg” /></a>
The result should appear similar to the following:
<a href=”http://www.externalwebsite.com/” target=”_blank”><img src=”http://mywebsite.com/image.jpg” /></a>
Please leave a comment if you found this blog useful or if you have any ideas to improve your reading experience.
